Introduction to Solar Energy
Solar energy is one of the most viable and sustainable sources of energy available today. As concerns about climate change, escalating energy costs, and the depletion of fossil fuels intensify, homeowners and individuals are increasingly looking towards solar power solutions. The ability to harness sunlight to generate electricity is not only environmentally friendly but also economically advantageous in the long run.
The benefits of solar energy are multifaceted. Primarily, it helps to significantly reduce energy bills. By generating your own electricity through a diy solar system installation, you can lower your reliance on traditional utility providers, thus mitigating the impact of rising energy prices. Moreover, many governments offer incentives and rebates to those who invest in solar technology, making the initial investment more manageable.
Beyond financial savings, the adoption of solar power contributes to a more sustainable energy future. Solar energy reduces greenhouse gas emissions and diminishes the carbon footprint of households. This is especially important as the world grapples with the consequences of global warming. By transitioning to renewable energy sources such as solar, individuals can play an active role in preserving the environment for future generations.
Additionally, embracing solar technology requires a basic understanding of several key concepts. Terms such as photovoltaic cells, solar panels, inverters, and solar energy storage are integral to the installation process. Whether one is assessing their current energy needs or planning a diy solar system installation, familiarity with these concepts lays a solid foundation for making informed decisions.
As more people recognize the importance of sustainable energy practices, solar energy continues to gain traction as a primary energy source. This guide aims to equip readers with the knowledge necessary to successfully navigate the process of solar system installation, empowering them to embrace a cleaner, more sustainable energy solution.
Understanding Your Energy Needs
Before embarking on a diy solar system installation, it is crucial to assess your household’s energy consumption thoroughly. Knowing the amount of energy you use allows you to determine the size of the solar system you need, ensuring cost-effectiveness and efficiency in energy production. The first step in this process is to review your electricity bills over the past year. Look for the total kilowatt-hours (kWh) consumed each month, and take note of any patterns or changes in your usage. This analysis will give you a reliable baseline for your solar energy requirements.
After gathering data from your bills, the next step is to identify your peak usage times. Understanding when your household consumes the most energy can help you tailor your solar system installation to meet those demands. For instance, if you notice that electricity consumption spikes in the evening due to the use of lighting and appliances, designing a system that maximizes production during the day can better support your energy needs. Additionally, consider the seasonal variations in your energy use; months with higher energy consumption might require a slightly larger solar array to compensate.
Furthermore, take into account any future changes that may affect your energy consumption. For example, if you plan to add electric vehicles, more energy-efficient appliances, or an expansion of your living space, these factors should be integrated into your overall energy assessment. By examining both current and anticipated energy needs, you can optimize your diy solar system installation for long-term benefits. Proper planning and understanding of your energy requirements ultimately contribute to a successful transition to solar energy and an effective investment in your home’s future.
Choosing the Right Solar Equipment
When embarking on a DIY solar system installation, selecting the appropriate solar equipment is vital to ensure optimal performance and efficiency. The primary components to consider include solar panels, inverters, and battery storage systems. Each of these elements plays a crucial role in harnessing and managing solar energy effectively.
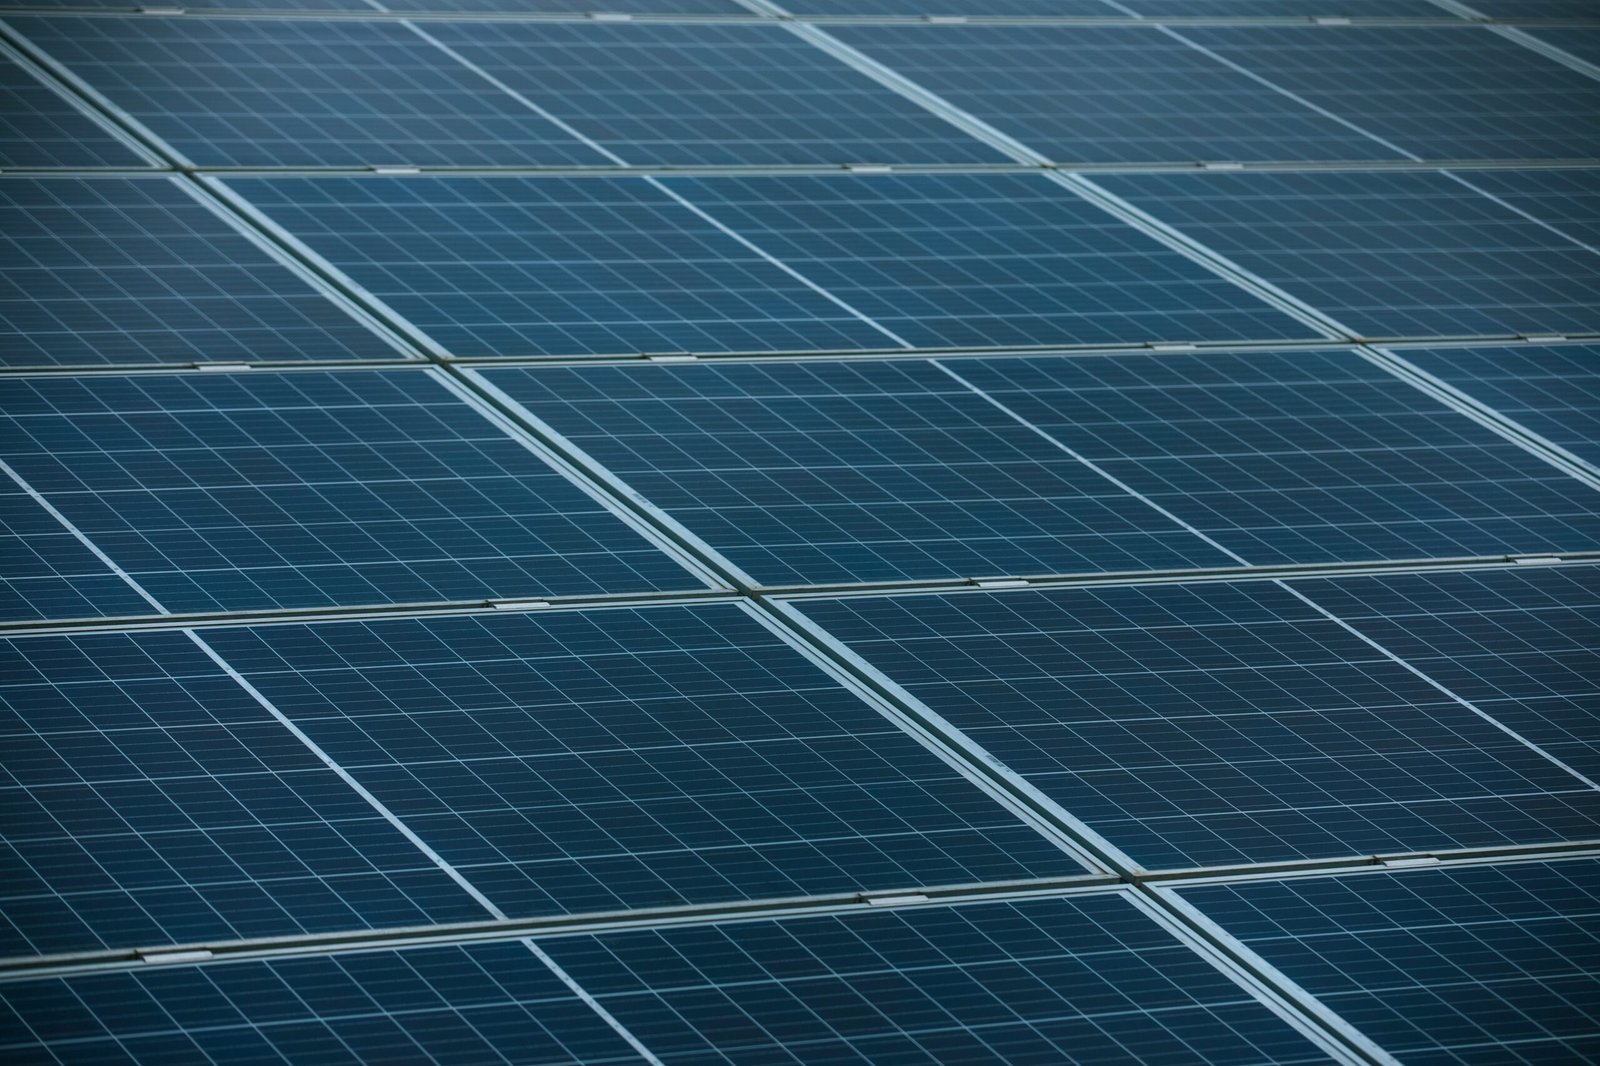
Solar panels are the heart of your system, converting sunlight into electricity. There are several types of solar panels available on the market, including monocrystalline, polycrystalline, and thin-film panels. Monocrystalline panels are known for their high efficiency and space-saving properties, making them suitable for installations with limited space. On the contrary, polycrystalline panels offer a more budget-friendly option, although they typically have a slightly lower efficiency. Thin-film panels are lightweight and flexible, but they generally have the lowest efficiency among the three. Consider your energy needs and available installation space when making a decision.
In addition to solar panels, inverters are necessary to convert the direct current (DC) produced by the panels into alternating current (AC) for household use. The two main types of inverters are string inverters and microinverters. String inverters are often less expensive and easier to install, while microinverters allow for better performance and monitoring on a panel-by-panel basis, making them ideal for installations with shading issues. Evaluating your budget and specific requirements will help guide your choice.
Lastly, selecting the right battery storage system is crucial for maximizing the benefits of your DIY solar system installation. Battery storage allows you to store excess energy generated during peak sunlight hours for use during nighttime or periods of low sunlight. When considering battery options, evaluate the depth of discharge, round-trip efficiency, and lifespan to ensure longevity and performance. By carefully assessing these factors, you can ensure that your DIY solar system installation is equipped with the right solar equipment to meet your energy needs efficiently.
Planning Your Solar Installation
Successfully embarking on a DIY solar system installation begins with careful and thorough planning. The first step in this process is conducting a site evaluation to determine the optimal placement of solar panels. Factors such as the orientation and angle of the roof, presence of nearby obstructions like trees, and the overall sunlight exposure throughout the day should be taken into account. Collecting this information helps in maximizing solar energy capture while minimizing potential shading issues that could compromise the efficiency of the system.
Next, it is essential to calculate the roof load capacity. Solar panels represent an additional weight that your roof must support. This involves assessing the structural integrity of your roof and determining whether it can bear the extra load of the panels and mounting equipment. Consulting with a structural engineer or a qualified professional may be necessary to ensure that your roofing system is safe and compliant with necessary codes. Understanding your roof’s load capacity is crucial in avoiding future issues related to structural failure.
Additionally, it is vital to familiarize yourself with local building codes and regulations concerning solar panel installations. These can vary significantly from one jurisdiction to another, and they may dictate how and where you can place your solar system. Local authorities often require specific permits and approvals before commencing installation. Therefore, it is advisable to contact your local permitting office or building department for details about regulations related to DIY solar system installation.
Obtaining the necessary permits not only helps avoid legal issues but also ensures that your installation adheres to safety standards designed to protect your property and the environment. By following these planning steps, you position your DIY solar system installation for optimal success and compliance.
Gathering the Tools and Materials
Embarking on a DIY solar system installation requires a careful selection of tools and materials to ensure a successful project. A well-prepared individual will need to gather both essential items and safety gear before commencing installation. Primarily, standard tools such as a drill, socket wrench, screwdriver, and level will be invaluable for securing and aligning solar panels. Additionally, a multimeter may be essential for precision testing of electrical components during installation.
In terms of materials, mounting brackets play a crucial role in securing solar panels to rooftops or ground mounts. These brackets must be durable and compatible with the chosen solar panel model to withstand varying weather conditions. Wiring is another critical component, with specific cables designated for both AC and DC applications. Proper connectors are necessary for joining these wires, ensuring a solid and reliable electrical connection.
When selecting materials, it is vital to strike a balance between cost and quality. While sourcing materials inexpensively is beneficial, investing in high-quality components can significantly enhance the longevity and efficiency of the solar system. Local hardware stores, online retailers, and specialized solar equipment suppliers can provide a diverse range of options. Moreover, purchasing in bulk, if possible, can yield significant savings.
Safety gear is also paramount during the installation process. Wear safety glasses to protect your eyes from debris, gloves to preserve your skin, and appropriate footwear to avoid accidents on rooftops. These precautions not only promote personal safety but also ensure a smooth and efficient installation experience. By preparing adequately and gathering the required tools and materials, you will lay a solid foundation for your DIY solar system installation journey.
Step-by-Step Installation Process
Installing a solar system can be a rewarding DIY project that contributes to energy independence and sustainability. The installation process can seem daunting, but with careful planning and attention to detail, it can be accomplished systematically. Here, we outline the key steps for a successful DIY solar system installation.
First, start by unpacking your solar equipment. This typically includes solar panels, an inverter, mounting brackets, and wiring. Ensure that all components are accounted for and inspect them for any signs of damage. Preparation is crucial, so review the manufacturer’s instructions for any specific details regarding your equipment.
Next, prepare your roof or installation area by ensuring it is clean and free of debris. If your installation involves roof mounts, verify that the structure can support the solar panels’ weight. You may also need to make adjustments to accommodate drainage and ventilation systems to prevent any unintended consequences after installation.
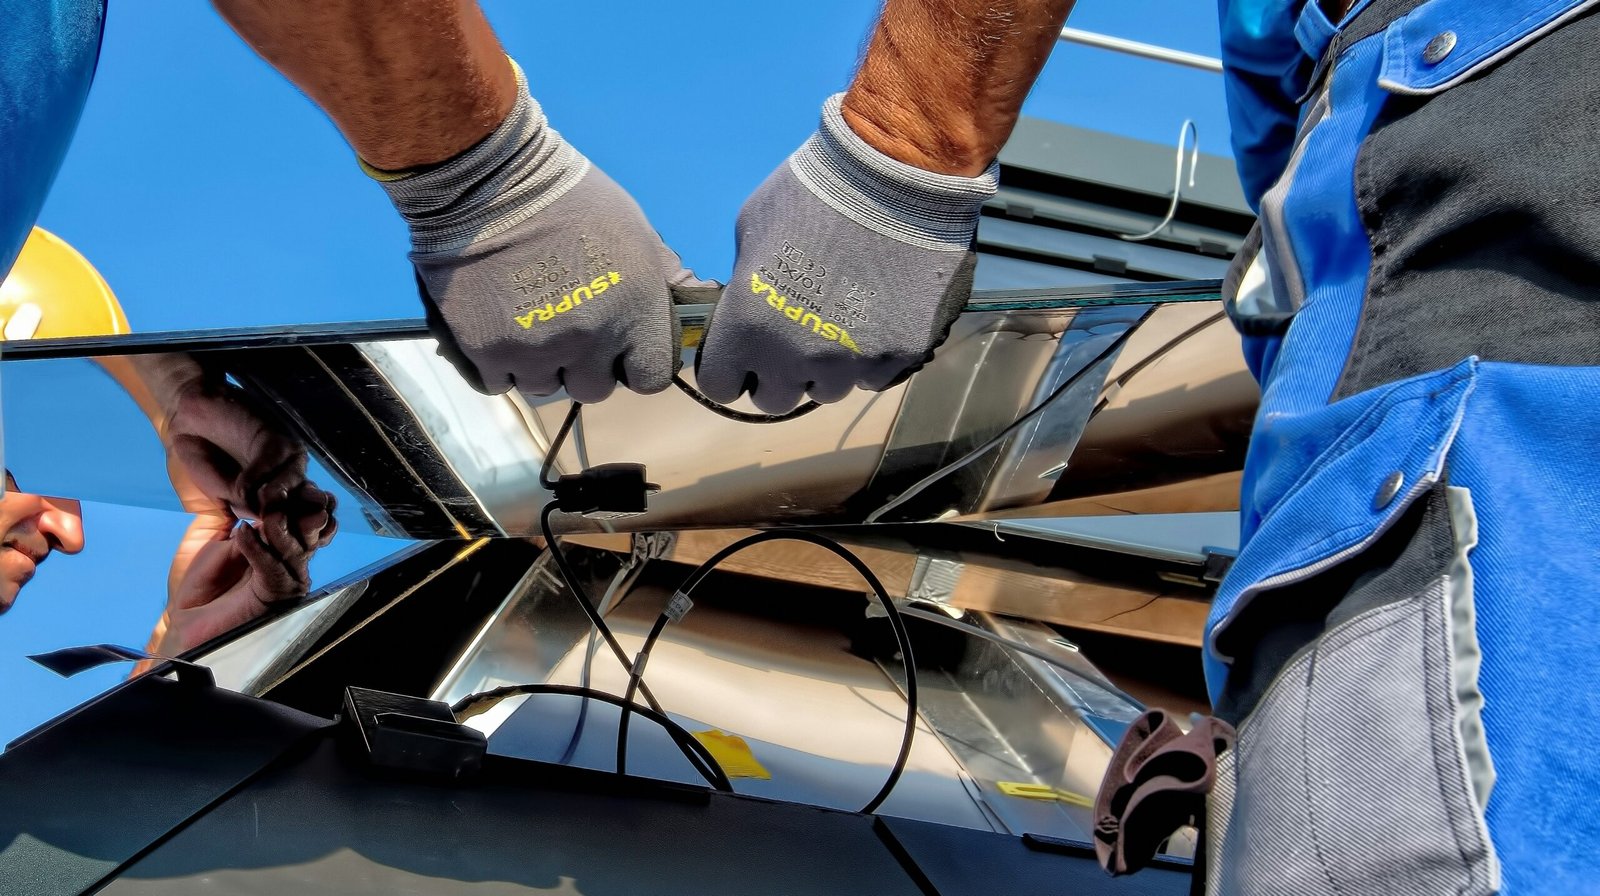
Once your site is prepared, it is time to mount the solar panels. Begin by installing the mounting brackets securely to your roof, following the manufacturer’s specifications. Make sure to use the proper tools, such as a drill and level, to ensure the brackets are properly aligned. After installing the mounts, fit the solar panels onto the brackets and secure them in place.
The next phase involves electrical connections. Connect the solar panels to the inverter using appropriate wiring. Ensure that all connections are tight and meet local electrical codes. Moreover, it is vital to use safety gear, such as gloves and goggles, during this step to protect against electrical hazards.
Finally, carry out a thorough check of all connections and ensure that everything is correctly configured before turning on the system. A successful DIY solar system installation can significantly reduce your energy costs and contribute to a more sustainable lifestyle.
Testing and Commissioning Your Solar System
Once the installation of your DIY solar system is complete, it is crucial to carry out a series of tests to ensure that the system operates correctly and efficiently. The testing phase involves several key steps, starting with checking the voltages produced by the solar panels. Utilize a multimeter to measure the voltage at both the panel and inverter levels. This will help you ensure that the system is generating the expected amount of power.
The next step involves testing all connections within the solar system. Inspect the wiring and connections from the solar panels to the inverter, as well as from the inverter to your electrical panel. Look for any loose connections or signs of wear that could potentially hinder performance. If necessary, tighten any loose connections and replace damaged wires to ensure optimal functionality. Proper maintenance of these connections can greatly affect the efficiency of your DIY solar system installation.
After verifying the voltage and connection integrity, it’s time to assess the system’s overall functionality. Turn on the inverter and monitor its performance using the built-in display or a dedicated monitoring app, if available. Ensure that the inverter is not producing any error codes and check that it transitions to grid-tied mode smoothly, if applicable. This step is essential for systems that are designed to feed excess energy back to the grid.
Finally, if your system is grid-tied, you should contact your utility provider to facilitate the proper connection. They may require an inspection and the installation of a net meter to keep track of energy production and consumption. By diligently testing and commissioning your solar system, you will maximize its performance and reliability, ensuring that your DIY solar system installation becomes a long-term sustainable solution.
Maintenance and Troubleshooting Tips
Proper maintenance of a DIY solar system installation is vital to ensure optimal performance and longevity. One of the foremost tasks is to regularly clean the solar panels. Dust, dirt, and debris can accumulate on the surface, blocking sunlight and reducing efficiency. To clean panels, use a soft brush or squeegee with soap and water, taking care to ensure that water does not seep into any electrical components. It is advisable to perform this cleaning ideally early in the morning or late in the evening to avoid the risk of severe temperature fluctuations which can lead to panel cracking.
In addition to cleaning, it is essential to monitor system performance consistently. Many modern solar installations come equipped with monitoring systems that allow users to track energy production and detect issues early on. Regularly checking the inverter output and ensuring that it aligns with expectations can help identify any discrepancies. If the energy production drops significantly, it may indicate a need for further inspection or maintenance.
Another primary maintenance task involves checking electrical connections. Over time, connections can become loose due to thermal expansion and contraction or weather-related wear. Periodically inspect the wiring, connectors, and the inverter for any signs of wear or corrosion. Tightening connections can improve efficiency and reduce the risk of electrical failures.
Despite regular maintenance, issues may still arise with a DIY solar system installation. Common problems include shading from nearby trees, inverter malfunctions, or circuit issues. If a drop in performance is noted, it may be helpful to examine potential shade sources that can impede efficiency. If the inverter fails to operate correctly, resetting or replacing it may be necessary. For more severe issues, consulting the manufacturer’s guidelines or seeking professional assistance is recommended.
In conclusion, routine maintenance and prompt troubleshooting are crucial in enhancing the performance of a DIY solar system installation. Regular inspections, cleaning, and monitoring will help ensure the longevity and efficiency of your solar energy investment.
Conclusion: The Future of DIY Solar Energy
The trend toward DIY solar system installation is not merely a passing phase; it reflects a broader shift in how individuals approach energy consumption and environmental responsibility. By embracing renewable energy solutions, homeowners can significantly reduce their electricity costs while contributing positively to the planet. The financial incentives and long-term savings that accompany DIY installations make solar energy an attractive option for many households seeking to enhance their energy independence. Moreover, the growing availability of affordable solar panels and related technology has made it easier than ever for individuals to embark on their solar journey.
DIY solar system installation has the potential to empower homeowners by providing them with the knowledge and skills necessary to manage their own energy production. As the demand for clean energy continues to rise, resources such as online tutorials, local workshops, and community forums offer valuable guidance for those interested in embarking on this endeavor. Additionally, as solar technology evolves, innovative products and solutions become accessible, further simplifying the installation process and improving system efficiency.
Looking ahead, it is crucial for aspiring DIY solar installers to stay informed about changing regulations and incentives in their area. Public policy is increasingly favoring renewable energy, which could result in additional support for those who choose to adopt solar solutions. Overall, the future of DIY solar energy is bright. By investing time and effort into a DIY solar system installation, individuals not only gain economic advantages but also play a crucial role in fostering a sustainable future. The empowerment that comes from controlling one’s own energy source, coupled with the environmental benefits of harnessing solar power, makes this a rewarding venture for anyone committed to a more sustainable lifestyle.